4 Ceiling Repair Projects for Your Burlington Home That Increase Property Value
Ceiling problems in Burlington homes can show up as outdated popcorn textures, water stains, or cracks that just seem to appear with time.
These issues mess with your home’s look, and honestly, they can hit your property value and even the air quality inside.

Most ceiling concerns can be tackled with four main repair approaches that bring back both function and style.
Burlington ceiling repair contractors usually charge around $7,008 per project on average.
Knowing what your options are helps you make better decisions about fixing your place and stopping future headaches.
1) Popcorn ceiling removal to modernize and brighten your Burlington home

Popcorn ceilings were all the rage from the 1950s through the ‘80s.
They’re basically made by spraying on stuff like Styrofoam or vermiculite, which seemed like a good idea at the time.
Now, though, these textured ceilings just make rooms feel gloomy and old.
Removing popcorn ceilings gives you smooth, modern surfaces that bounce light around and instantly update your space.
The process is pretty hands-on—contractors scrape off the texture and prep the surface for a fresh finish.
They bring specialized tools to get the job done fast and keep the mess down.
Smooth ceilings make rooms look bigger and brighter, plus they match with just about any decorating style you want.
A lot of folks notice the difference right away after removal.
Professional popcorn ceiling removal services handle everything—prep, removal, and finishing—so you don’t have to stress.
Depending on the room size and condition, the project usually takes one to three days.
Most contractors throw in dust protection and cleanup, which is a relief.
Once the popcorn’s gone, you can finally add things like pot lights or other features that just weren’t possible before.
It opens up new ways to update your home even more.
Modern smooth ceilings in Burlington really do give your home a fresh start and can bump up its value.
2) Stucco ceiling repair for restoring textured finishes
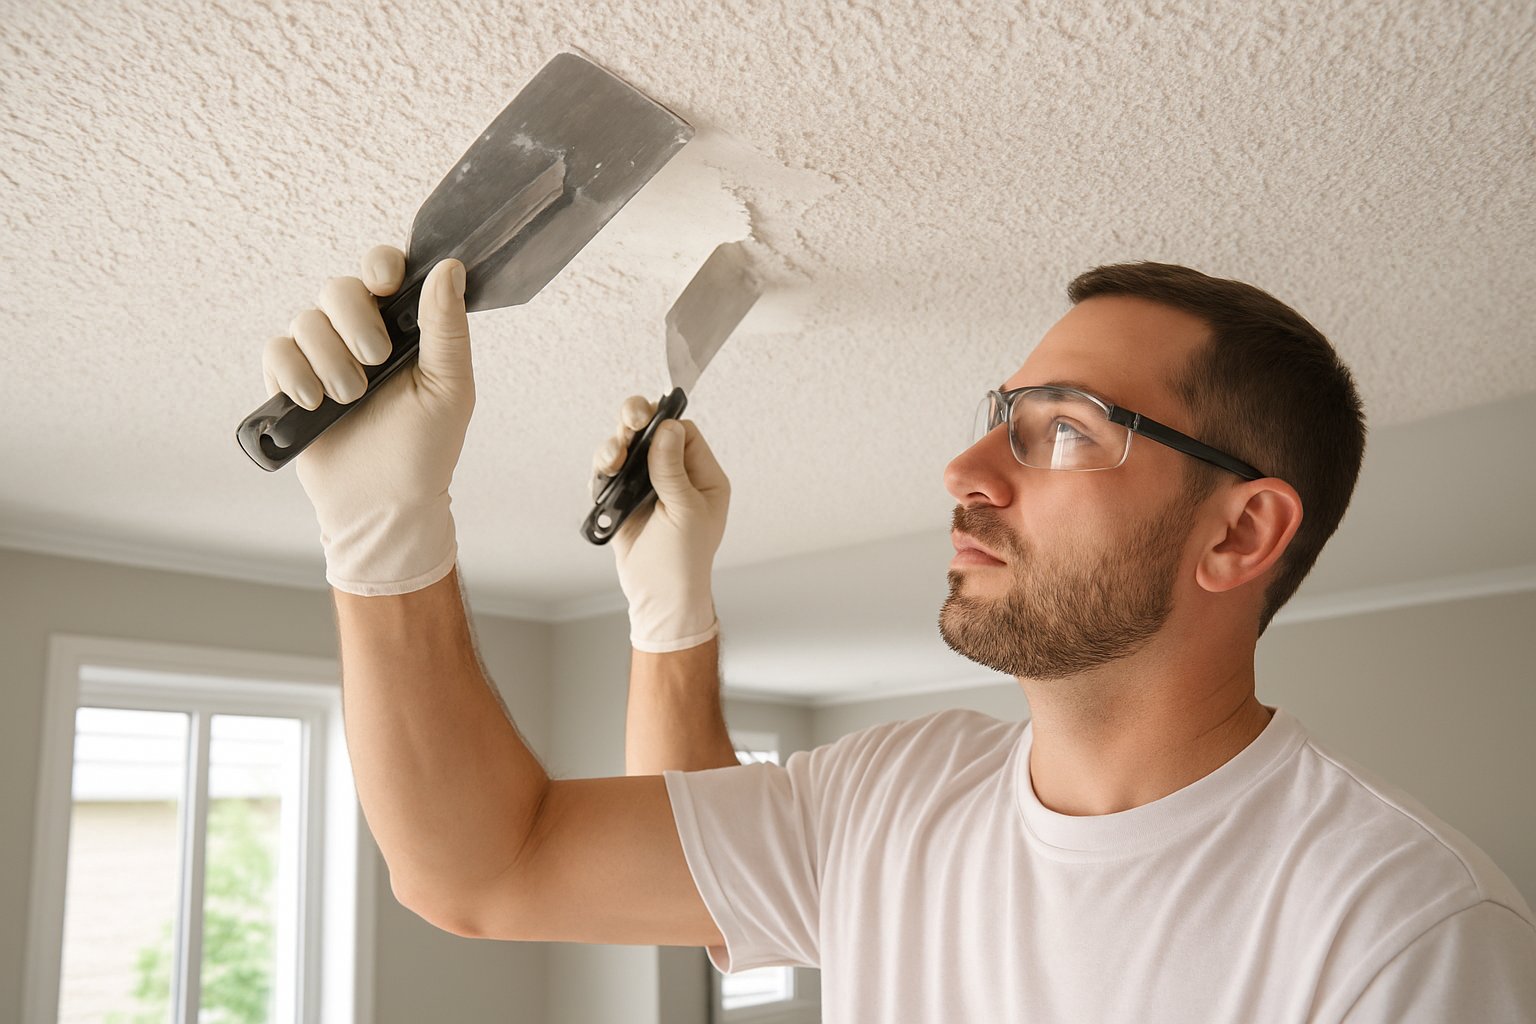
Stucco ceilings add a bit of charm and texture to rooms.
But over time, they crack, stain, or get damaged—especially if water sneaks in.
Water damage is a big culprit here.
Leaks from the roof or pipes can make the textured material peel, bubble, or even drop off.
First, you’ve got to check out the damage.
Small cracks or holes? Those can usually be patched with matching stucco.
If the damage is bigger, you might need to remove and replace sections.
Matching the texture is tricky.
Pros use different techniques to make sure the new patch blends in with the rest of the ceiling.
Stucco ceiling repairs aren’t always DIY-friendly.
The process means cleaning, applying new material, and texturing to match.
Once the stucco dries, you’ll need to prime and paint the spot so it matches the rest of the ceiling.
Some folks try to fix minor issues themselves, but getting a seamless look really takes experience.
Fixing stippled ceilings involves a bunch of steps: assessment, prep, repair, sanding, priming, and texturing.
If you keep up with repairs and stay on top of water issues, a good stucco ceiling can last for years.
3) Drywall installation and patching for ceiling damage
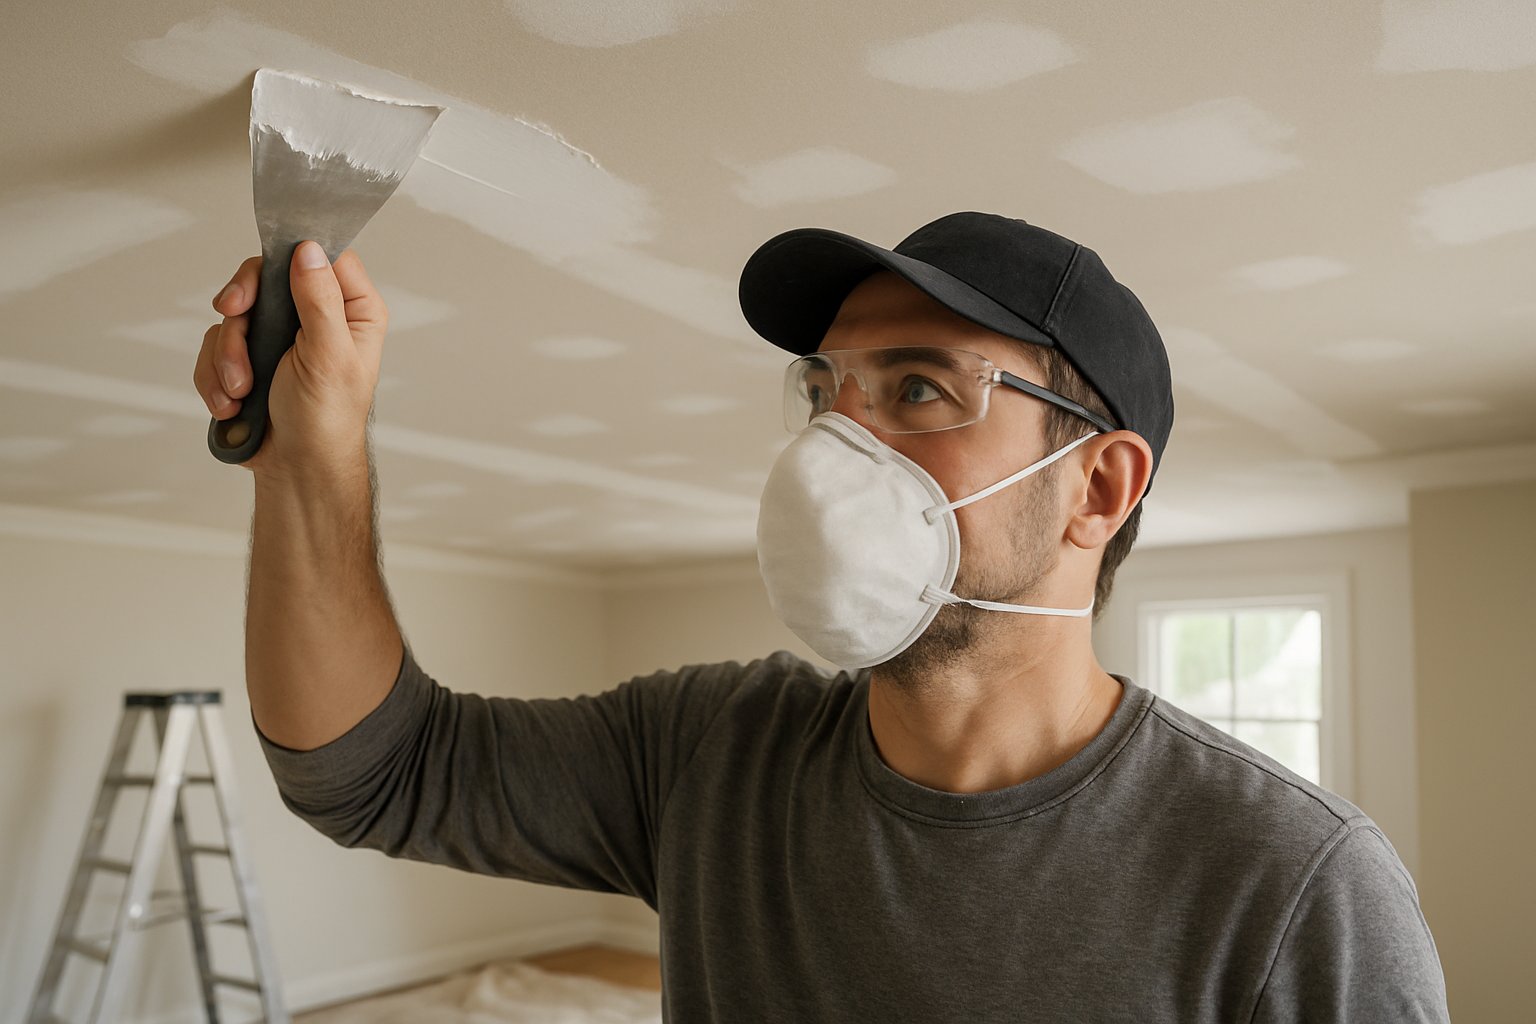
Leaks, impacts, or settling can leave holes and cracks in your ceiling that really need a pro’s touch.
Drywall ceiling repair has its own quirks since you’re working overhead and don’t want future sagging.
Small holes—say, under four inches—can usually be fixed with mesh patches or those handy self-adhesive kits.
Bigger holes? You’ll have to cut out the bad section and install a new piece of drywall.
Start by removing loose or busted material.
Then, cut the hole into a square or rectangle to make patching easier.
For larger holes, cut a new drywall piece a bit smaller than the opening.
Attach some backing strips behind the hole with screws so the patch has something to grab onto.
Secure the new drywall to those strips, then tape all the seams and apply joint compound in a few layers.
Patching large ceiling holes means three coats of joint compound, with drying and sanding between each.
The toughest part is matching the texture.
You want the repaired spot to disappear into the rest of the ceiling.
Pros use spray guns or hand tools to recreate popcorn, knockdown, or orange peel textures.
Once it dries, everything gets primed and painted to match.
Good lighting helps catch any little flaws that need a quick touch-up.
4) Textured ceiling removal for a smooth, updated appearance
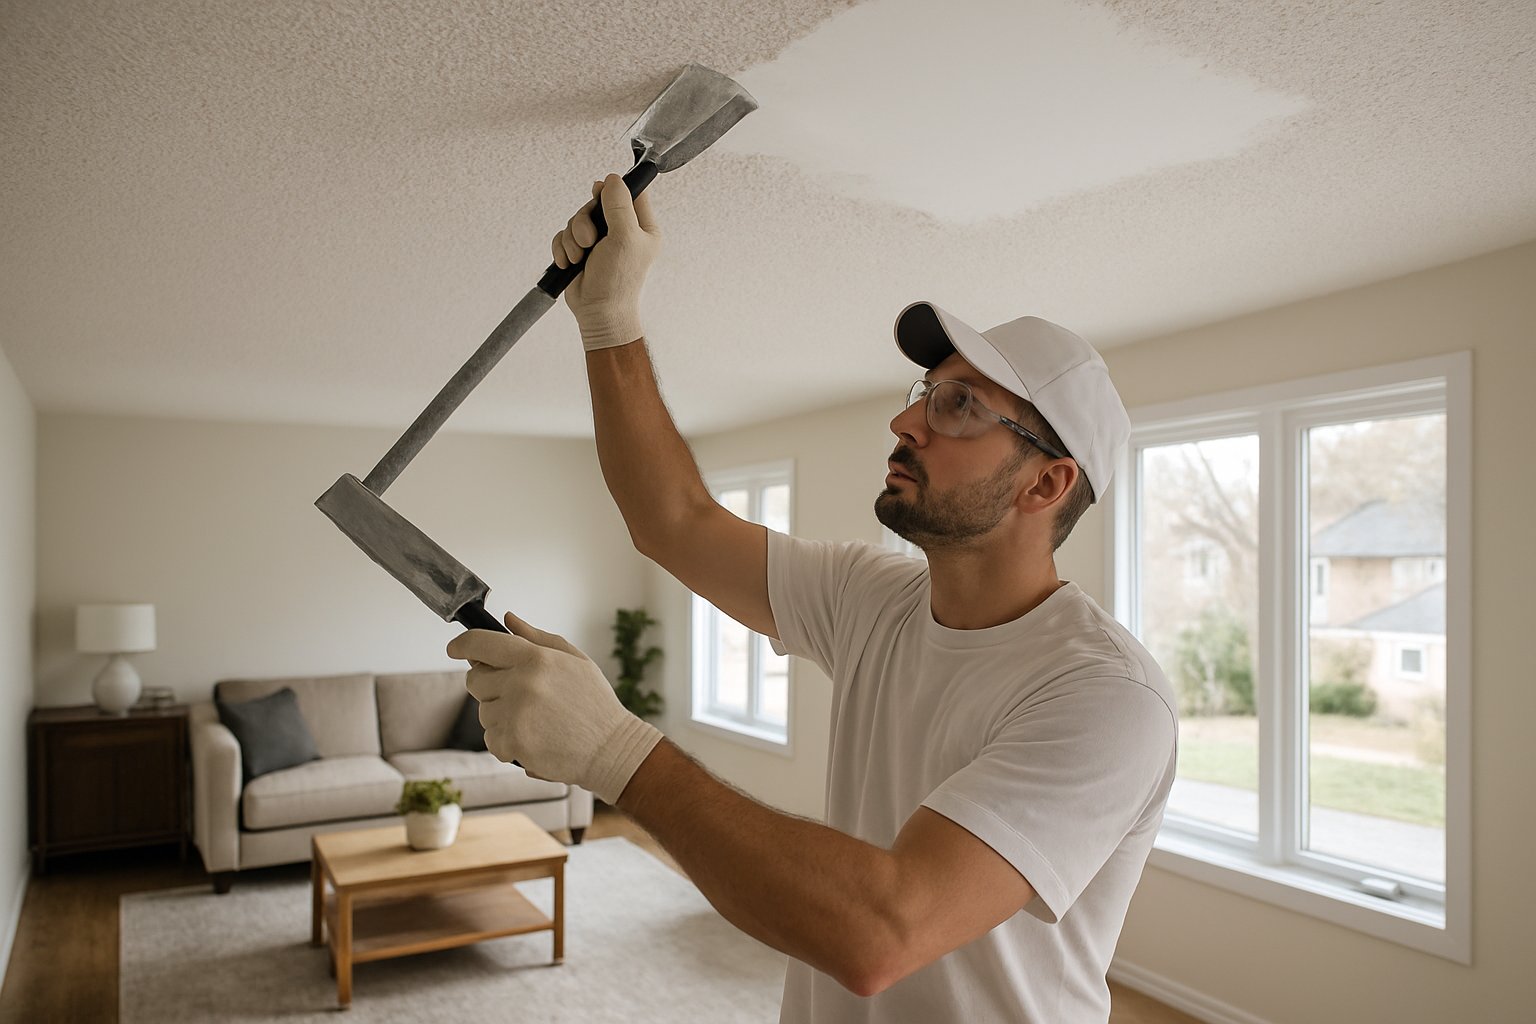
Textured ceilings just don’t do homes any favors these days.
They can make spaces feel closed-in and dated.
Taking them down gives your place a clean, modern vibe that buyers and guests actually like.
The removal process depends on whether the ceiling’s been painted.
Water-soluble textures soften up pretty quickly with a spray of warm water.
Painted ones? That’s a different story and takes more work.
Test a small area first to figure out what you’re dealing with.
That way, you’ll know which tools and methods to use.
Safety matters—older textured ceilings sometimes have asbestos, so get it checked before starting.
Wear protective gear to keep safe from dust and debris.
The job involves scraping, cleaning up, and patching any rough spots.
Professional contractors can spot ceiling types fast and pick the right removal method.
Once the texture’s gone, they’ll smooth out the surface and prep it for paint.
That flat, modern ceiling can totally change the room’s feel.
Pros take care of waste disposal and any repairs after removal.
You end up with a flawless finish and less hassle.
Smooth ceilings make rooms feel bigger and brighter, and honestly, they just look better.
Understanding Common Causes of Ceiling Damage
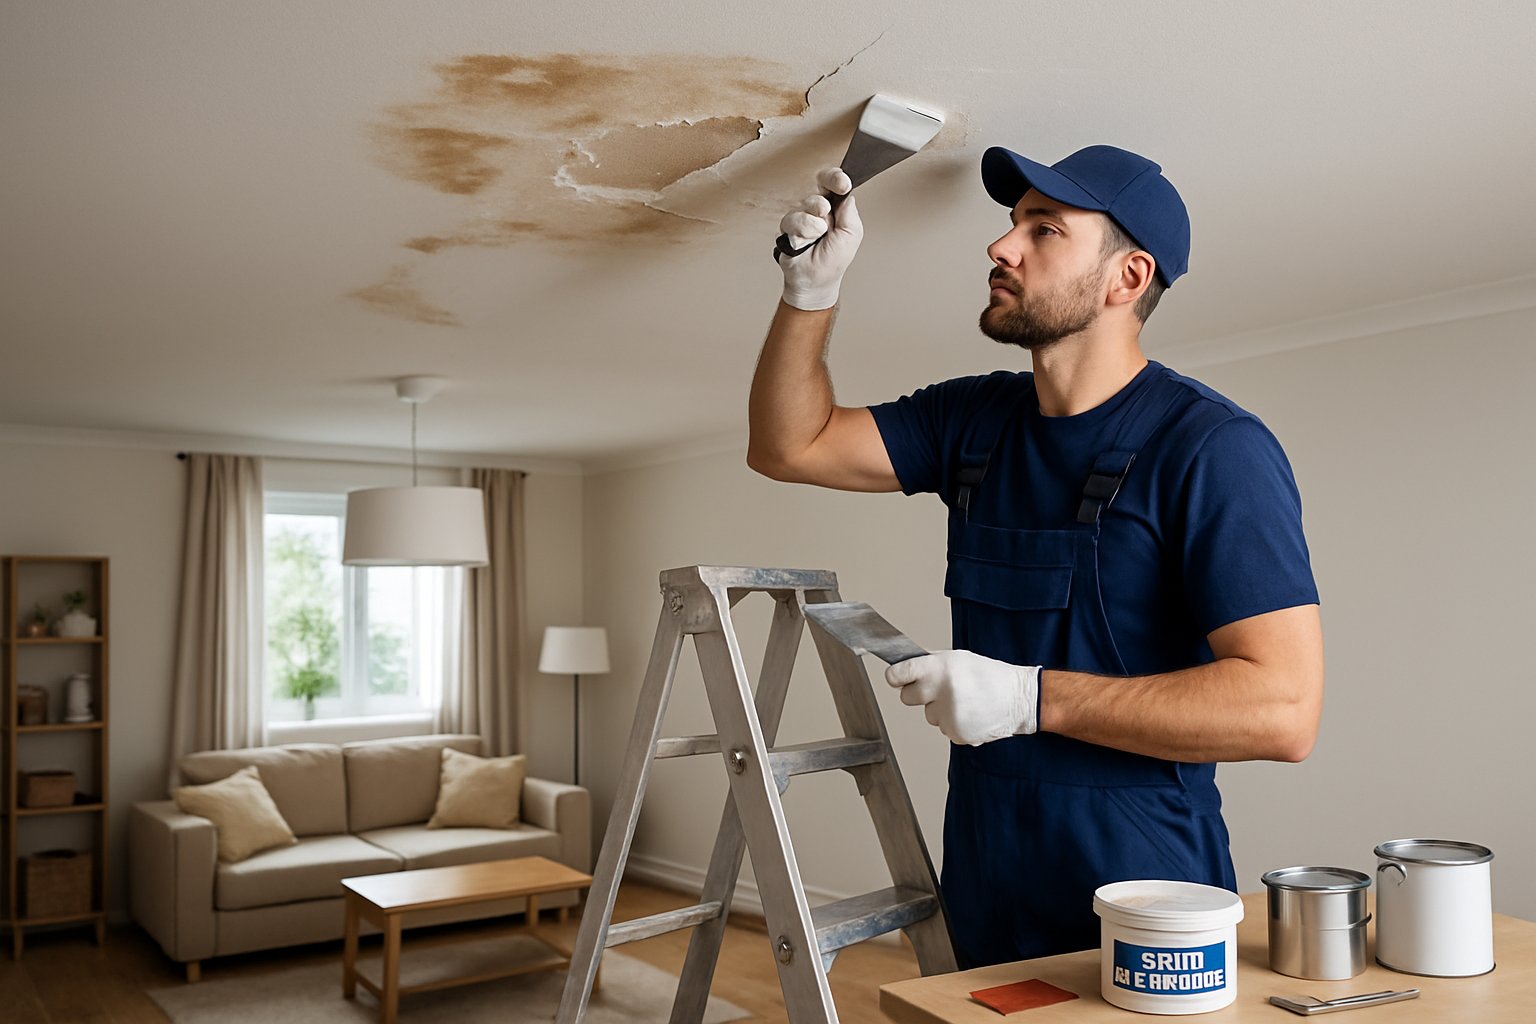
Ceiling damage usually comes from three main things: water leaks, the house settling, and good old-fashioned wear and tear.
Water Leaks and Moisture Issues
Water is the biggest enemy of ceilings (and basements if you read here).
Roof leaks let rain sneak through shingles and insulation, eventually soaking into the drywall.
Plumbing failures—like burst pipes—can dump water on your ceiling fast.
That kind of damage happens in hours, not days.
If your bathroom fan isn’t working right, moisture gets trapped in the ceiling and builds up over time.
Water damage ceiling problems usually start as stains—brown or yellow patches that show up before things start to sag.
High humidity in basements or crawl spaces can creep up and make ceilings a perfect spot for mold.
Structural Shifts and Settling
Homes settle as the ground shifts, which creates stress where walls and ceilings meet.
Temperature swings make building materials expand and contract, so wood framing can move a bit over the seasons.
Foundation shifts often show up as hairline cracks along the edges of ceilings, usually near outside walls.
If you’ve ever knocked down a wall without checking if it’s load-bearing, you might have created new stress points on your ceilings.
When ceilings sag between beams, it’s a sign the original framing might not be up to the task anymore.
Impact and Surface Damage
Ceilings take a beating from everyday life.
Dragging furniture or carrying something tall can leave gouges or holes.
Kids’ toys, sports gear, or even just age can all make their mark.
Paint and drywall compound lose their grip after years of temperature swings and humidity.
Heavy foot traffic upstairs can loosen drywall screws, causing bumps or cracks.
Sometimes pests chew their way through, breaking the surface and letting moisture in.
How to Prevent Future Ceiling Repairs

You can dodge a lot of ceiling repair bills by staying proactive—regular inspections and managing moisture go a long way.
These steps help you catch problems early and keep your indoor environment steady.
Routine Inspections and Maintenance
Check your ceilings every three months for trouble.
Look for cracks, stains, or peeling paint, especially near light fixtures and vents where moisture likes to hide.
Peek in the attic for wet or loose insulation, which can lead to ceiling headaches down the road.
Schedule a pro inspection once a year to spot structural or water issues you might miss.
A contractor’s trained eye can catch things that aren’t obvious from below.
Don’t forget to clean your gutters twice a year.
Clogged gutters can back up water and send it right into your roof and ceilings.
Proper Ventilation and Humidity Control
Moisture control is key for preventing ceiling damage in homes. High humidity often leads to sagging drywall and mold.
Install exhaust fans in bathrooms and kitchens to pull out moisture right where it starts. Make sure these fans vent straight outside—not into the attic.
Keep indoor humidity between 30-50%. Sometimes you’ll need a dehumidifier, especially during muggy months.
A basic hygrometer can track humidity for you. It’s worth checking now and then, honestly.
Fix plumbing leaks as soon as you spot them. Even a tiny drip can turn into a big headache if you ignore it.
Check that your attic has enough intake and exhaust vents for proper airflow. Without that, condensation sneaks in and starts ruining things from above.
Use water-resistant materials like mold-resistant drywall in damp-prone spaces. It just makes sense in the long run.