Key Steps, Costs, and Choosing the Right Furnace
Installing a new furnace ranks among the most important home improvement decisions you’ll make. Your furnace keeps your family comfortable during cold months and affects your energy bills for years to come.
Getting the installation right from the start prevents costly repairs and ensures your system runs efficiently.
The furnace installation process involves choosing the right equipment for your home’s needs and working with qualified professionals to set it up correctly. A properly installed furnace provides reliable heating, maintains consistent temperatures throughout your home, and operates safely. Poor installation leads to uneven heating, higher energy costs, and potential safety risks.
This guide walks you through everything you need to know about furnace installation. You’ll learn how to select the right furnace type and size, what happens during the installation process, and how to budget for both immediate costs and long-term expenses. Understanding these elements helps you make informed decisions and ensures your new heating system performs well for many years.
Understanding Furnace Types and Sizing

Different furnace types use different fuel sources and operate with varying efficiency levels, while proper sizing ensures your home stays comfortable without wasting energy or money. The BTU output and AFUE rating of your furnace directly impact both heating performance and long-term operating costs.
Gas, Electric, and Oil Furnaces Explained
A gas furnace burns natural gas or propane to create heat, making it the most common type of furnace in homes with access to gas lines. These units use a burner to ignite fuel, which heats a metal heat exchanger that warms air before distribution throughout your home. Gas furnaces typically cost less to operate than electric models where natural gas prices remain low.
An electric furnace uses heating elements similar to those in a toaster to warm air. These units don’t require venting or gas lines, which makes installation simpler in some cases. Electric furnaces work well in mild climates or homes without gas access, though electricity costs often make them more expensive to run.
An oil furnace burns heating oil stored in a tank on your property. You’ll need regular oil deliveries to keep the system running. Oil furnaces were common decades ago but have declined in popularity due to higher fuel costs and maintenance requirements compared to gas options.
Importance of BTU and Furnace Size
BTU stands for British Thermal Unit, which measures the heat output your furnace produces. One BTU represents the energy needed to raise one pound of water by one degree Fahrenheit. Your furnace size refers to its BTU capacity, not its physical dimensions.
Calculating furnace size requires considering your home’s square footage, insulation quality, ceiling height, and local climate. A furnace that’s too small will run constantly and struggle to maintain comfortable temperatures. An oversized unit cycles on and off frequently, which wastes energy and causes uneven heating.
Most homes need 30 to 60 BTUs per square foot. A 2,000-square-foot home typically requires a furnace with 60,000 to 120,000 BTU capacity. HVAC professionals perform detailed load calculations to determine the exact furnace size you need.
What Is AFUE Rating and Why It Matters
AFUE rating stands for Annual Fuel Utilization Efficiency, which tells you what percentage of fuel converts to usable heat. A 95% AFUE rating means 95 cents of every dollar spent on fuel heats your home, while 5 cents escapes through the exhaust.
Standard-efficiency furnaces have AFUE ratings between 80% and 85%. High-efficiency furnaces achieve 90% to 98.5% AFUE. A high-efficiency gas furnace with 95% AFUE costs more upfront but reduces fuel consumption significantly over time.
High-efficiency furnaces often include features like a variable-speed blower motor, which adjusts airflow based on heating demands. This variable-speed blower uses less electricity than single-speed models and provides more consistent temperatures. The higher purchase price of high-efficiency units typically pays for itself within 5 to 10 years through lower utility bills.
Selecting a Furnace and Contractor
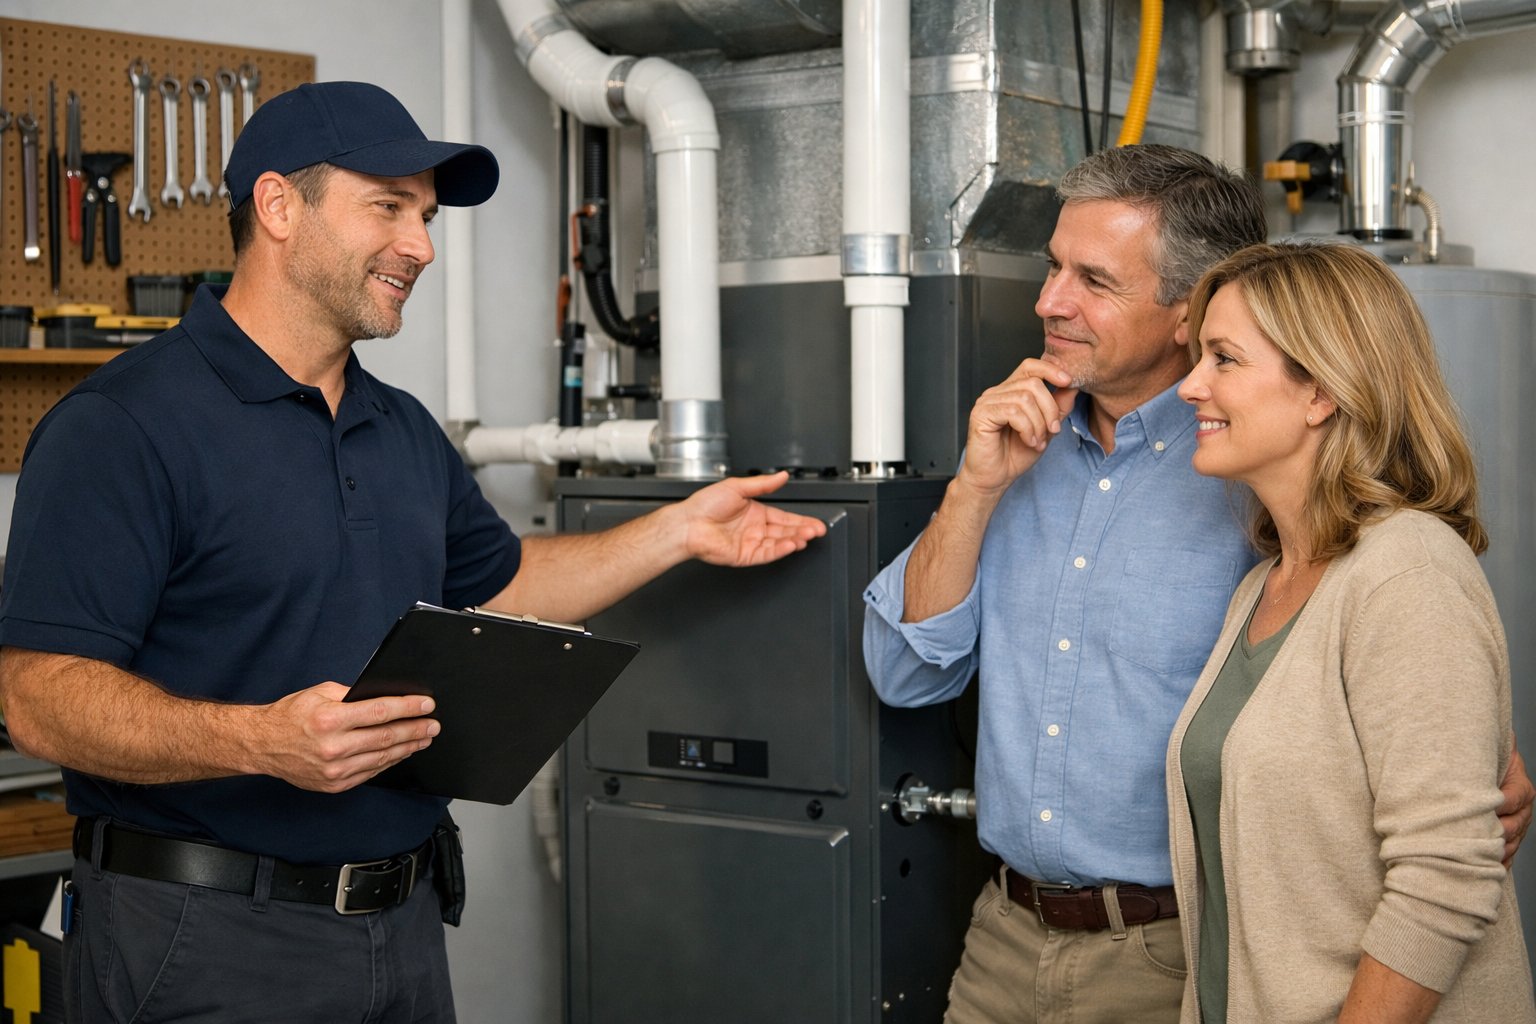
Picking the right heating system and installer requires careful research and comparison. You need to evaluate equipment specifications, verify contractor credentials, and understand warranty coverage before making your final decision.
How to Choose the Right Furnace
Your new furnace must match your home’s heating requirements. An oversized unit wastes energy and cycles on and off too frequently. An undersized system runs constantly and never reaches your desired temperature.
A licensed HVAC technician should perform a load calculation for your home. This calculation considers square footage, insulation levels, window quality, and climate conditions. The result determines the correct furnace size measured in BTUs (British Thermal Units).
Gas furnaces typically offer better long-term value than electric models in most areas. Annual Fuel Utilization Efficiency (AFUE) ratings tell you how much fuel converts to heat. Modern furnaces range from 80% to 98% AFUE.
Variable-speed blowers cost more upfront but provide better temperature control and quieter operation. Single-stage furnaces work at full capacity or off. Two-stage models offer a low setting for milder weather and high output for cold days.
Selecting a Professional HVAC Contractor
Finding qualified HVAC contractors starts with verifying licenses and insurance coverage. Every furnace installer you consider should carry liability insurance and workers’ compensation. Ask for proof of both before scheduling estimates. Professional furnace installation by HVAC companies like Prologic Comfort Solutions or Enercare makes all the difference in the world.
Experience matters when choosing HVAC contractors. Look for companies that have completed at least five years in business. Check online reviews and ask for customer references from recent furnace replacement projects.
A home comfort advisor should visit your property for in-person assessments. Avoid companies that quote prices over the phone without seeing your home. The evaluation should include ductwork inspection, electrical system review, and venting requirements.
Request itemized quotes from three different furnace installers. Compare labor costs, equipment prices, and included services separately. Watch for low-ball estimates that often lead to change orders and unexpected fees.
Ask about priority service programs and maintenance plans. Many HVAC contractors offer annual tune-ups and expedited furnace repair scheduling for members.
Comparing Furnace Models, Features, and Warranties
Manufacturer warranties typically cover parts for 5 to 10 years. Heat exchangers often receive longer coverage, sometimes up to a lifetime limited warranty. Registration requirements vary by brand, so complete this step within 60 days of installation.
An extended warranty adds protection beyond standard coverage. These plans may include labor costs that manufacturer warranties exclude. Read the fine print carefully because some extended warranties duplicate existing coverage.
Compare these key features across models:
- AFUE rating (higher percentage means better efficiency)
- Number of heating stages (single, two-stage, or variable)
- Blower motor type (single-speed or variable-speed)
- Noise level measured in decibels
- Smart thermostat compatibility
Installation warranties from your professional furnace installer typically last one to two years. This coverage protects you against improper installation and workmanship defects. Some HVAC contractors extend this period for additional fees.
The Furnace Installation Process
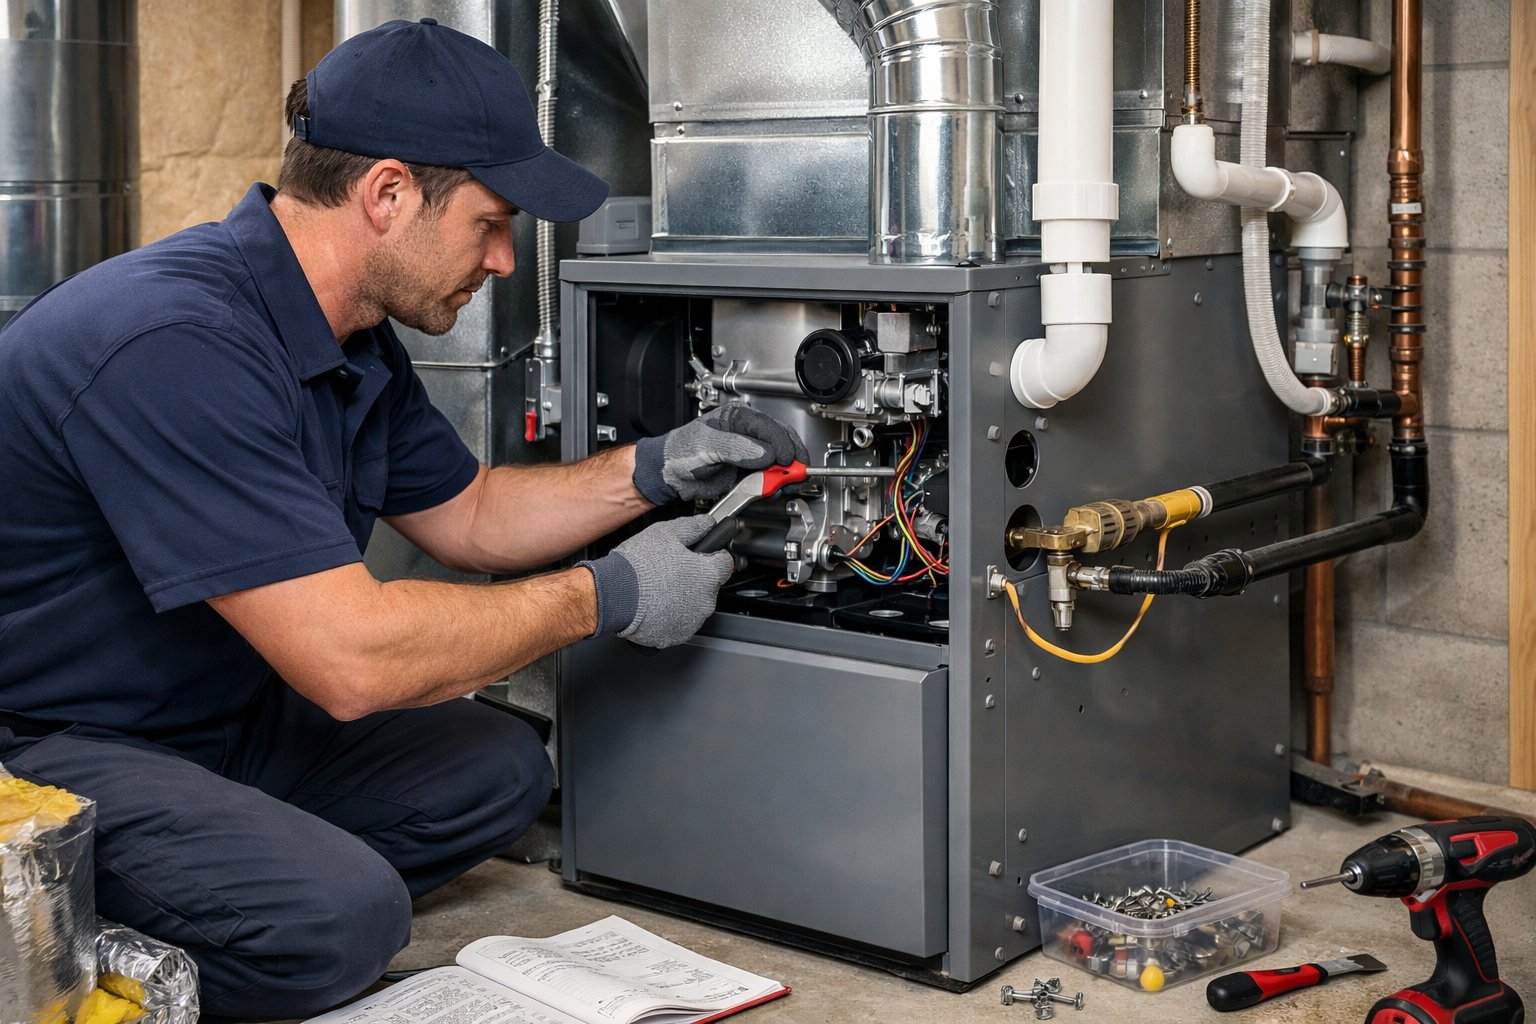
Professional furnace installation follows a structured sequence that protects your home’s safety and ensures reliable heating performance. Licensed technicians complete detailed assessments, safely remove existing equipment, install new components according to code requirements, and verify proper operation through comprehensive testing.
Pre-Installation Assessment and Preparation
Your HVAC technician starts by evaluating your home’s heating requirements and existing infrastructure. This includes performing a load calculation to determine the correct furnace size based on your home’s square footage, insulation levels, window types, and local climate conditions. An oversized or undersized furnace leads to inefficient operation and premature equipment failure.
The technician inspects your existing ductwork for damage, leaks, or sizing issues that could restrict airflow. They check your gas line connection capacity for gas furnace installation or verify electrical panel capacity for electric units. Your installer also examines the venting system to ensure it meets current building codes and can safely exhaust combustion gases.
The workspace around your existing furnace needs clear access. Remove stored items, boxes, and furniture to create an unobstructed path for equipment removal and delivery. Your installer will identify any necessary upgrades to electrical circuits, gas lines, or the condenser drain before beginning work.
Removing the Old Furnace
The technician begins by shutting off power at your electrical panel and closing the gas supply valve. They disconnect the thermostat wiring, carefully labeling each wire for proper reconnection. The ductwork connections are separated from the old unit after removing sheet metal screws and sealing tape.
For gas systems, the installer disconnects the gas line connection and caps the line. They remove the venting pipes that exhaust combustion byproducts outside your home. If your system includes a condenser drain line for moisture removal, this gets disconnected as well.
The old furnace is unbolted from its platform and carefully removed from your home. This step gives your installer a clear view of the installation area and allows them to address any underlying issues with the platform, surrounding structures, or connections before the new equipment arrives.
Installing and Connecting the New Furnace
Your installer positions the new furnace on a level platform, ensuring proper clearances from walls and combustible materials as specified in installation requirements. They secure the unit to prevent movement or vibration during operation. The heat exchanger and blower motor come pre-installed in most modern furnaces.
Ductwork connections are sealed to the new unit using mastic sealant or metal tape to prevent air leaks that reduce efficiency. The technician connects electrical wiring following local building codes and manufacturer specifications. For gas furnace installation, they attach and pressure-test the gas line connection to verify there are no leaks.
The venting system gets installed or modified to match your new furnace’s requirements. High-efficiency models often require PVC venting instead of traditional metal flue pipes. Your installer connects the thermostat wiring and may recommend upgrading to a smart thermostat for better temperature control and energy management.
A new furnace filter slides into place, and the condenser drain line gets connected if your system produces condensate. The technician double-checks all connections before proceeding to system activation.
System Testing, Configuration, and Safety Verification
After completing physical installation, your technician powers up the system and initiates the startup sequence. They verify proper ignition, monitor the heat exchanger for cracks or defects, and confirm the blower motor operates at correct speeds. The installer measures temperature rise across the heat exchanger to ensure it falls within manufacturer specifications, typically between 40 and 70 degrees.
Airflow testing confirms your ductwork delivers adequate air distribution throughout your home. The technician checks static pressure readings to identify any restrictions that could strain the blower motor or reduce indoor air quality. They verify the furnace cycles on and off properly in response to thermostat commands.
For gas systems, combustion analysis ensures safe and efficient burning. The installer tests for carbon monoxide leaks and verifies proper ventilation that exhausts gases outside your home. They inspect all gas connections with leak detection solution to confirm secure seals.
The technician calibrates thermostat settings and explains basic furnace maintenance tasks like filter replacement schedules. They provide documentation of the installation, warranty information, and answers to your questions about furnace testing and operation.
Furnace Installation Costs and Long-Term Considerations
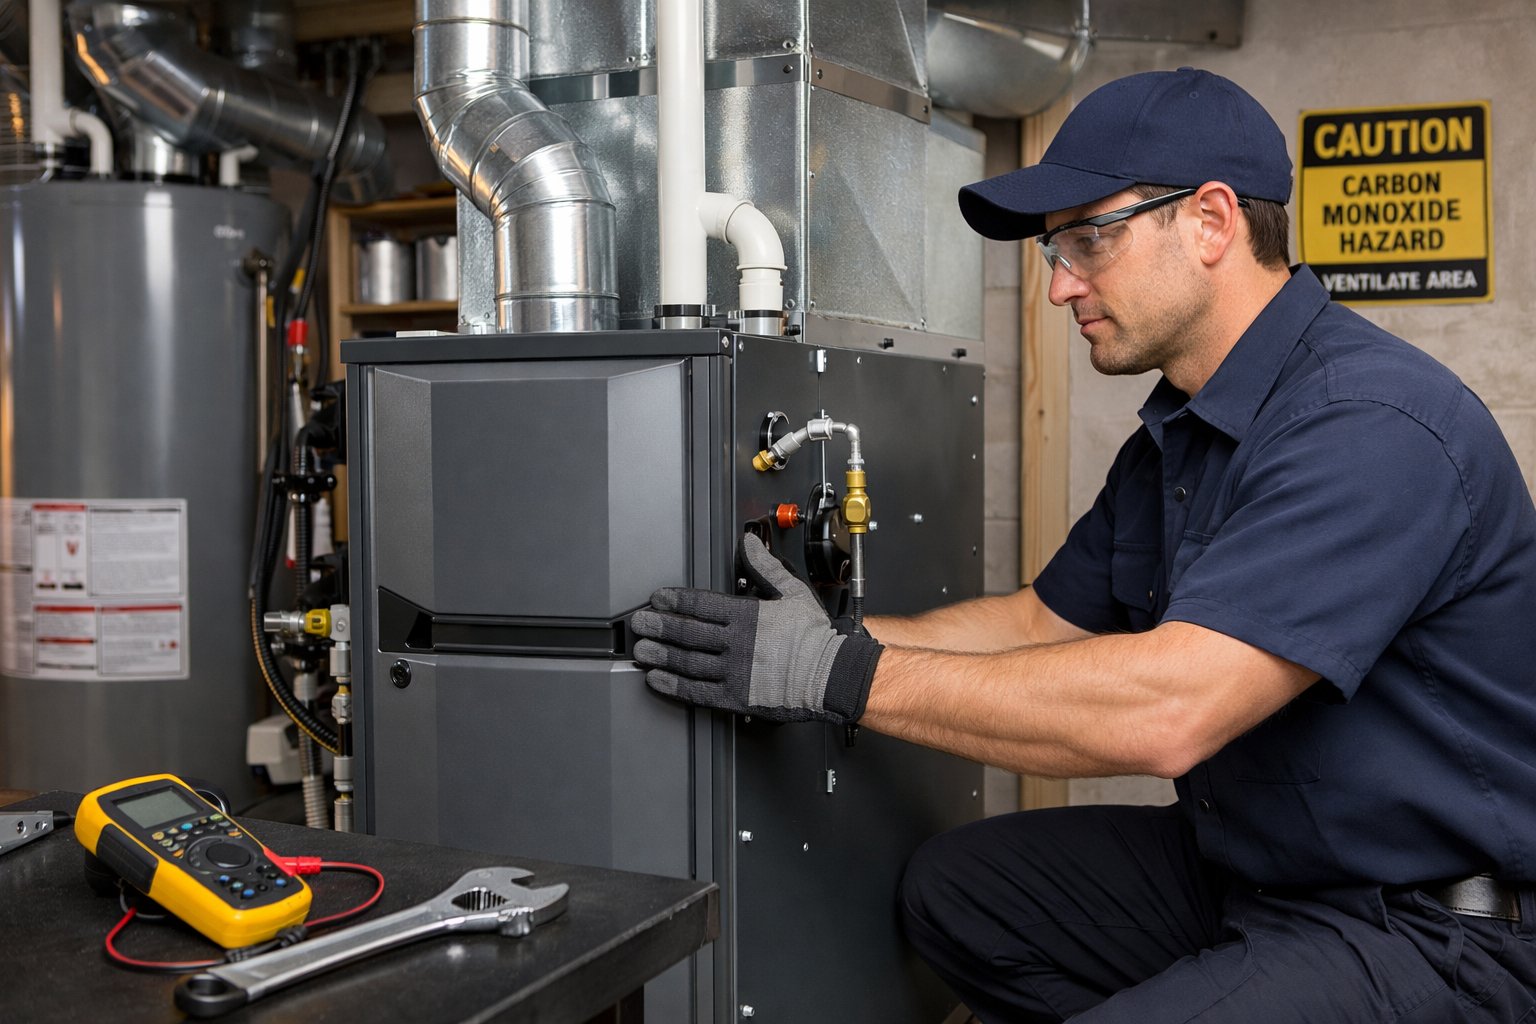
Installing a new furnace requires careful financial planning and understanding the factors that influence both upfront expenses and future savings. The typical investment ranges from $3,000 to $7,500, with variations based on system type, efficiency ratings, and installation complexity.
Understanding Furnace Installation Cost
The average furnace installation cost ranges from $3,000 to $7,000 for most residential projects. Gas furnace installation cost typically falls between $3,800 and $6,500, making it a popular choice for homeowners seeking balance between performance and price.
Electric furnaces represent the most affordable option at $2,500 to $5,000 upfront. However, they often result in higher monthly energy bills. Oil furnaces cost $4,500 to $7,500 and work well in areas with limited gas access.
High-efficiency models command premium prices from $6,000 to $12,000. These units deliver superior performance and reduced operating costs over time.
| Furnace Type | Price Range |
|---|---|
| Electric | $2,500–$5,000 |
| Gas | $3,800–$6,500 |
| Oil | $4,500–$7,500 |
| High-Efficiency | $6,000–$12,000 |
Factors Affecting Installation Prices
Several elements determine your final furnace replacement expenses. Labor charges account for $1,500 to $3,000 of the total project cost. Your home’s size directly impacts the required BTU capacity, with larger spaces demanding more powerful systems.
Ductwork modifications add $500 to $3,000 when existing infrastructure needs updating or repairs. Removing your old furnace and disposing of it properly increases labor time and expenses.
Permits and inspections cost between $100 and $500 depending on local building codes. Installing a new thermostat adds another $200 to $500 to your investment. Complex installations involving structural changes or unusual placement requirements drive prices higher than standard replacements.
Regional labor rates vary significantly. Urban areas typically charge more than rural locations for the same installation services.
Energy Efficiency and Operating Savings
Annual Fuel Utilization Efficiency (AFUE) ratings measure how effectively your furnace converts fuel into heat. Models with ratings above 90% qualify as high-efficiency systems and can reduce heating bills by up to 30%.
A furnace with 95% AFUE converts 95 cents of every dollar spent on fuel into usable heat. Compare this to older models operating at 60-70% efficiency, which waste significant energy.
Your home heating costs decrease substantially with efficient equipment. A family spending $2,000 annually on heating with an old 65% AFUE furnace could save $600 per year after upgrading to a 95% AFUE model.
Many high-efficiency furnaces qualify for rebates and tax credits. These incentives reduce the upfront price gap between standard and premium models. Check manufacturer warranties carefully, as efficient systems often include longer coverage periods that protect your investment.
Post-Installation Tips for Homeowners
Schedule professional maintenance annually to keep your new furnace operating at peak efficiency. Replace air filters every one to three months depending on usage and household conditions. Dirty filters force your system to work harder and consume more energy.
Keep vents and registers clear of furniture, drapes, and other obstructions. Blocked airflow reduces system performance and increases wear on components. Program your thermostat to lower temperatures when you’re away or sleeping to maximize savings without sacrificing comfort.
Monitor your energy bills during the first few months after installation. Significant increases may indicate installation issues or system problems requiring attention. Listen for unusual noises like banging, whistling, or grinding that could signal mechanical problems.
Document your installation date and keep all warranty paperwork accessible. Most manufacturers require proof of professional installation and regular maintenance to honour warranty claims.